I denne veiviseren vil vi vise hvordan man installerer applikasjoner på ditt domenenavn hos oss med vår automatiske installasjon.
- Logg inn på din konto på kundeweb.
- Finn domenenavnet ditt i hurtigvisningen på førstesiden og klikk "DirectAdmin".

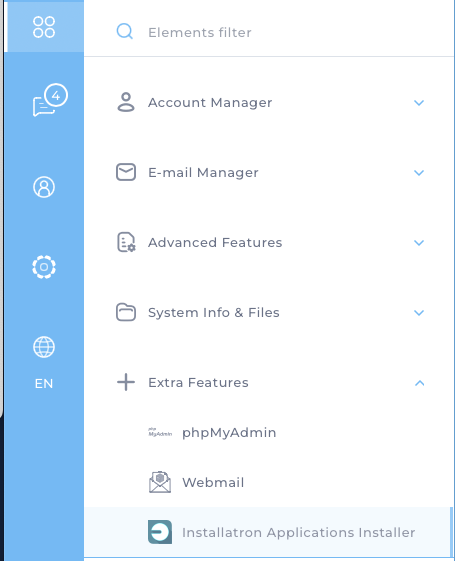
- Du blir nå videresendt til DirectAdmin. Klikk på menyknappen, velg "Extra Features" og "Installatron Applications Installer". Med Installatron kan du installere over 140+ forskjellige løsninger for din nettside. Fremgangsmåten for de forskjellige applikasjoner er stort sett lik. I denne guiden har vi installert "WordPress".
- Klikk på "Applications Browser" øverst til høyre.

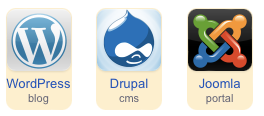
- Søk eller bla deg fram til ønsket applikasjon. Her har vi valgt "WordPress".
- Du kan velge om du vil installere applikasjonen eller gjøre en import. Import kan gjøres både fra egen nåværende side hos oss (i
public_htmleller undermapper) eller fra ekstern leverandør. Vi tilbyr gratis flytting om du ikke ønsker å gjøre det selv. I denne guiden gjør vi en ny installasjon.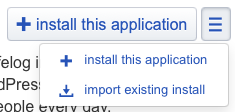
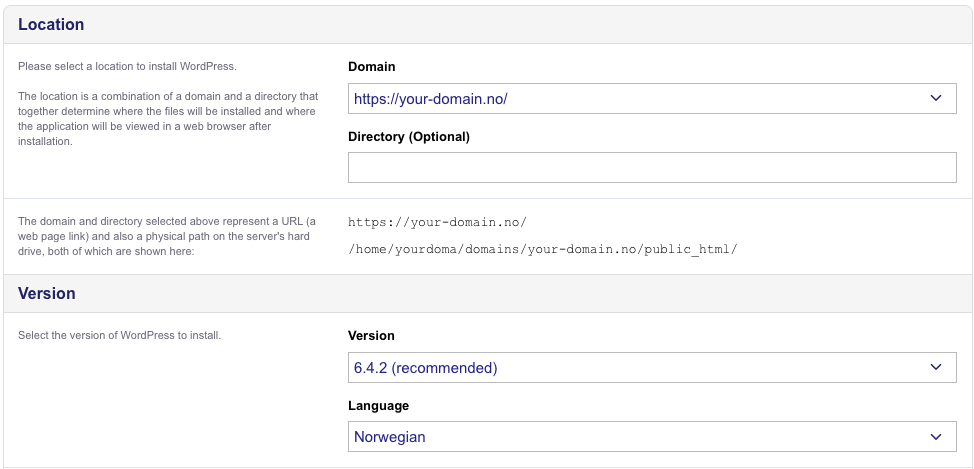
- Du får noen valg under installasjonen. Bl.a. plassering av siden (Domain og Directory). Du kan og velge versjon og språk. Merk at vi her har valgt å benytte "https", og det krever at du har installert et SSL sertifikat for ditt domenenavn.
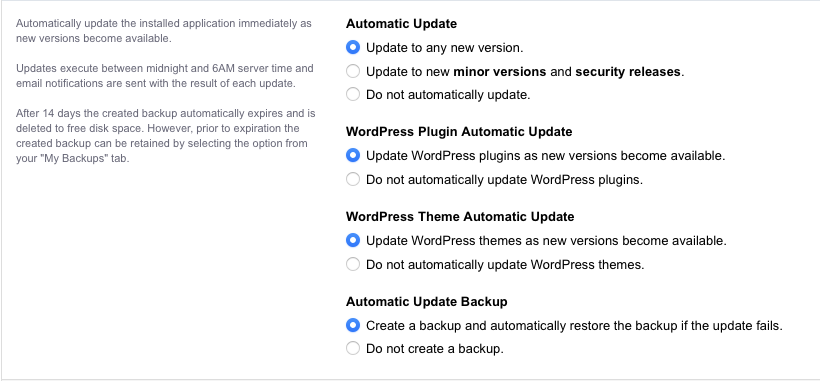
- Deretter får du valg for automatisk oppdatering og sikkerhetskopier for din applikasjon. Innstillingene vi har gjort er her det vi anbefaler. Dersom du ønsker kan du og velge å oppgrader selv. Det kan enten gjøres via kontrollpanel til din applikasjon eller via Installatron i DirectAdmin. Vi anbefaler at du alltid holder din applikasjon oppdatert for å unngå misbruk/hacking via sikkerhetshull. Dersom du benytter våre anbefalte innstillinger vil du bli varslet pr e-post når siden er oppdatert. Det er da viktig at du sjekker alle funksjoner. Om noe ikke fungerer vil du ha tilgjengelig sikkerhetskopi av som kan gjenopprettes.
- Under "Settings" velger du brukernavn, passord og e-post som skal varsles ved oppdatering eller endringer. Du har og noen valg for sikkerhet.

- Til slutt klikker du på knappen "Install" for å starte installasjon av din applikasjon. Dette kan ta noen minutter før installasjonen er ferdig.
Har du spørsmål eller behov for hjelp er det bare å ta kontakt med oss!
Last updated: 2024-07-19