På din konto er det mulig å opprette ekstra SFTP-kontoer. I denne guiden viser vi hvordan du lager en konto, og hvordan du kobler til SFTP-kontoen. Merk at ekstra SFTP-kontoer må benytte port 26 for tilkobling.
- Logg inn i kundeweb.
- Klikk på "DirectAdmin"-knappen bak det domenenavnet du ønsker å opprette SFTP-konto for.

- Når du kommer inn i DirectAdmin har adressefeltet på toppen av siden endret seg. Merk deg denne adressen (med grønn strek under), for den er senere verten/hosten du skal koble til med på SFTP.

- Velg "FTP Management" under "Account Manager" i menyen.
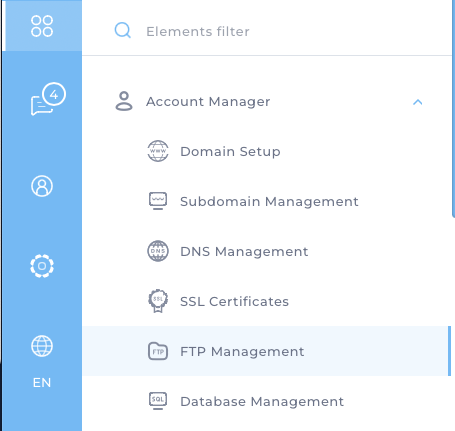
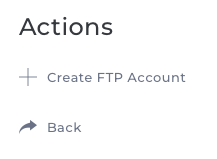
- Klikk på knappen for "+ Create FTP Account" under "Actions" til høyre på skjermen.
- Fyll inn brukernavn (merk at brukernavnet ser ut som en e-postadresse, men må ikke forveksles med en e-postkonto), velg et passord og angi hvilken mappe den nye brukeren skal ha tilgang på.
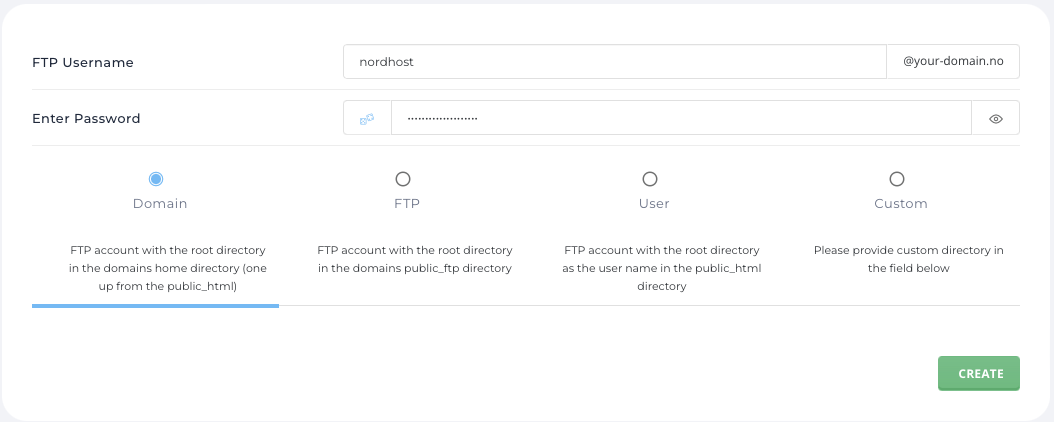
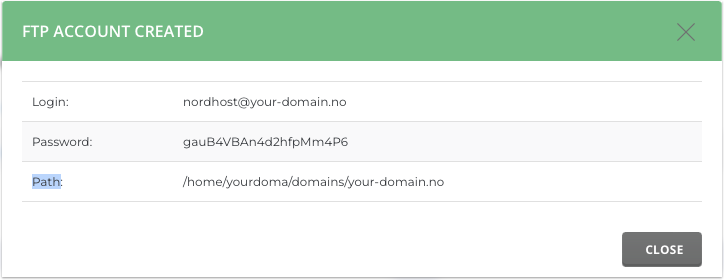
- Klikk på knappen "Create" og SFTP-kontoen vil opprettes umiddelbart. Du får opp en dialogboks som viser informasjon om kontoen du har laget.
- Når kontoen er opprettet kan du f.eks. benytte FileZilla for å koble til. Her er viser vi hvordan vi har gjort dette med kontoen vi akkurat har laget.

I denne tilkoblingen har vi benyttet følgende informasjon fra SFTP-kontoen vi opprettet:
1) sftp://web20.osl1.nordkapp.net (fra punkt 3)
2) nordhost@your-domain.no (må ikke forveksles med e-postkontoer)
3) Passordet vi selv valgte (vises i dialogboksen)
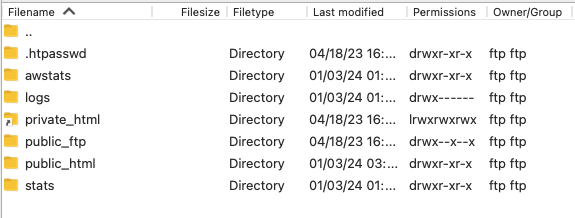
4) Port skal være 26. Port 22 vil ikke fungere! - Du er nå tilkoblet og vil se de filene/mappene du har tilgang på ut fra hvilken mappe du har gitt den nye SFTP-kontoen tilgang på (punkt 6).
Ta kontakt med oss dersom du har spørsmål eller trenger hjelp!
Last updated: 2024-01-03